Cabinet Pulls Installation Services Overview
Visitors can learn about how local contractors install cabinet pulls and connect property owners with experienced service providers in their area.
- - Homeowners seeking to upgrade kitchen or bathroom cabinetry with professional pull installation services.
- - Property managers or landlords needing reliable local contractors for efficient cabinet pull upgrades.
- - Remodelers or interior designers looking to connect with experienced service providers for cabinet hardware installation.

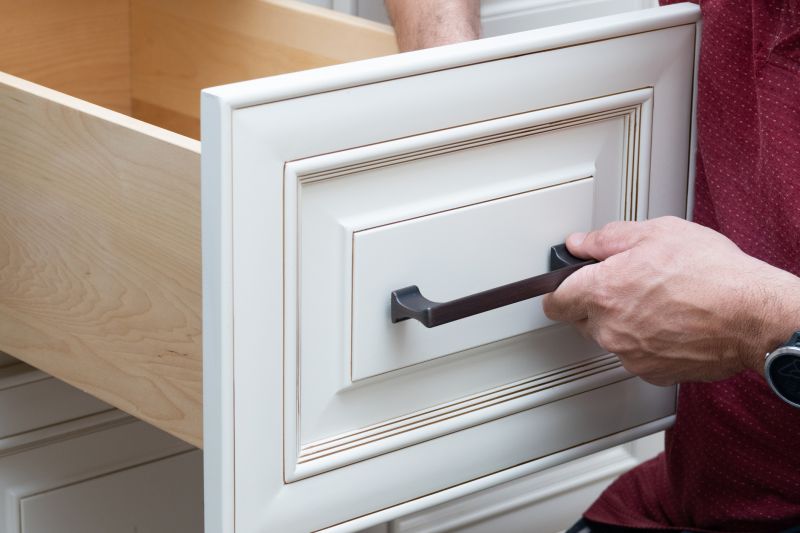
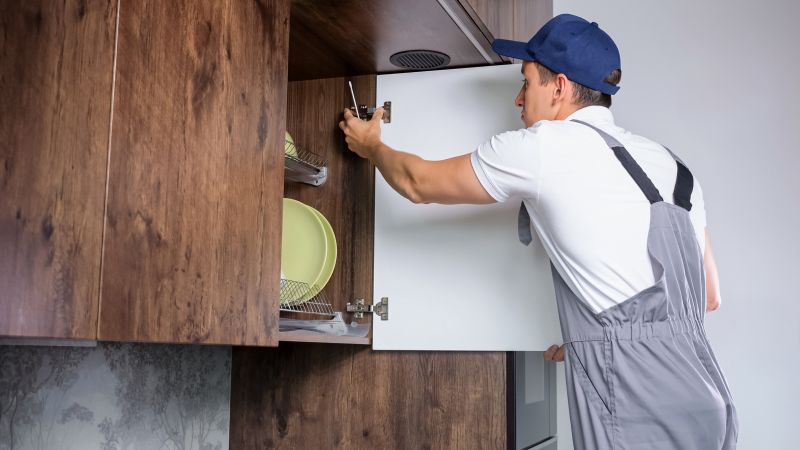
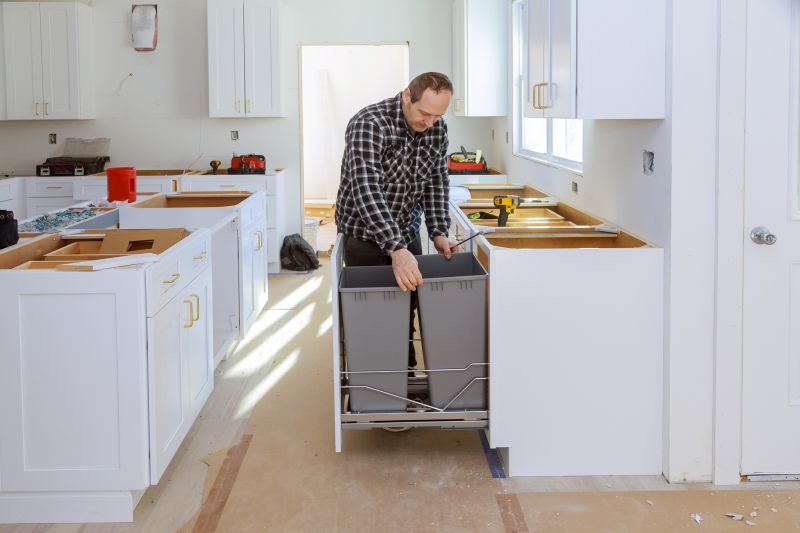
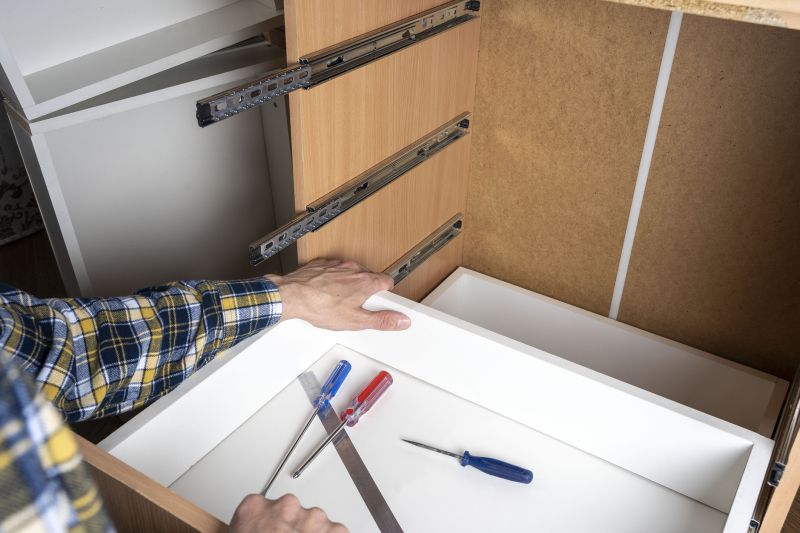
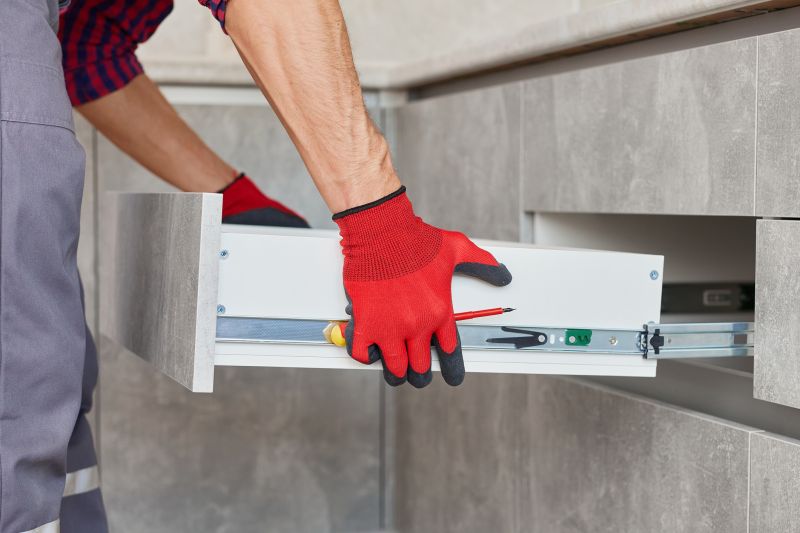
Cabinet pulls installation services involve attaching new hardware to cabinets to enhance both their appearance and functionality. Property owners often seek out local contractors or service providers to help with this task, especially when upgrading or replacing existing pulls. These professionals typically handle tasks such as removing old hardware, measuring for proper placement, and securely installing new pulls that match the style and layout of the cabinetry. Whether updating a kitchen, bathroom, or other storage areas, local pros can assist in achieving a polished and cohesive look.
Connecting with experienced local service providers ensures that cabinet pulls are installed correctly and efficiently. Many property owners turn to specialists who understand the nuances of different cabinet types and hardware styles. These professionals can advise on suitable options, help with precise measurements, and provide clean, professional results. By working with local pros, property owners can find the right expertise to complete their cabinet hardware projects with confidence.
This guide helps visitors understand the key factors involved in installing cabinet pulls, making it easier to plan their project. It provides tips for comparing local contractors who specialize in cabinet hardware installation. By highlighting important considerations, the guide assists in preparing for discussions with service providers about the scope of work.